Quick links to projects on this page:


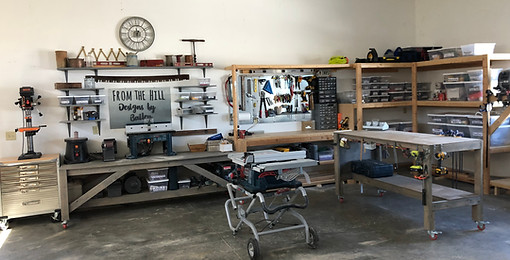
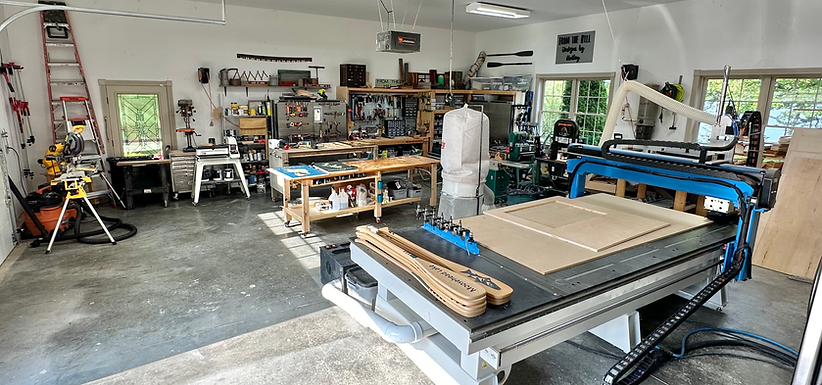
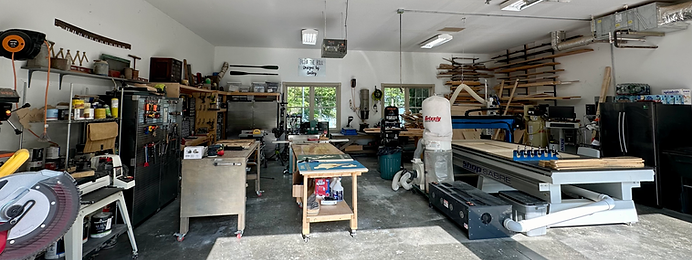
My Workshop
DIY Workbench
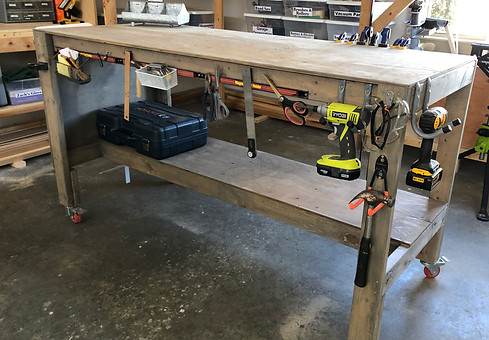
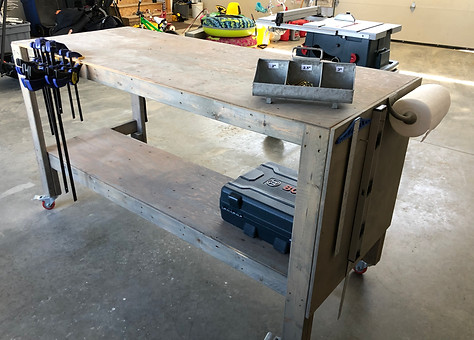
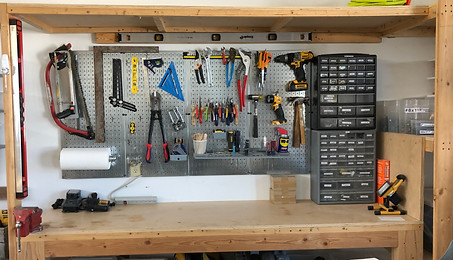
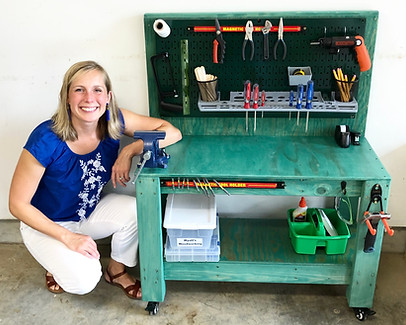
This workbench was really easy to build, and I customized it to the perfect height, which has been invaluable. Click here for my tutorial. The casters have been amazing, I found them on amazon. The paper towel holder was a game changer in the garage, product here. The magnetic strips here. Please know I am not getting anything for telling you about these products (I'm definitely not that cool) just wanted to let you know what worked for me!
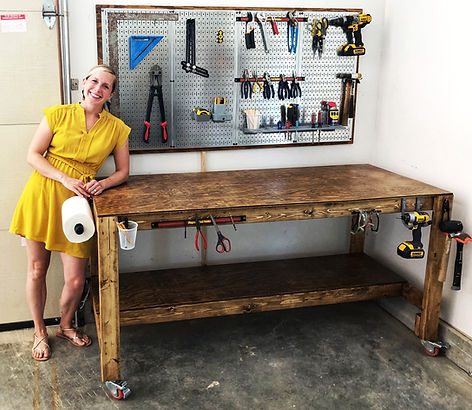
Click here to learn how I made this
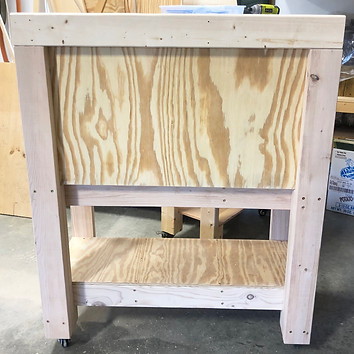
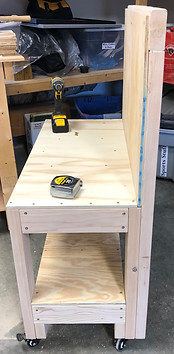
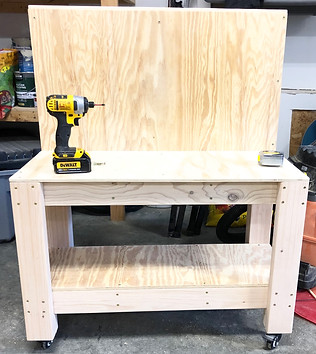
DIY Kid's Workbench
This workbench is the exact same as my adult workbench, just scaled way down. I measured my son to see how high it should be, then measured his reach to see how deep it would be. The top is 36" wide and 15.5" deep.
Step 1: Shop
-
Five 2x4s
-
1/2" Sheet of Plywood
-
1 5/8" construction screws
-
2.5" construction screws
-
4 castors (at least 2 of them need to lock) I used these ones.
-
Pegboard. I used this one.
-
Magnetic Strips. I used these.
-
Accessories & tools. I went to Home Depot and bought a bunch of their cheaper tools.
Step 2: Cut & label your 2x4s
2x4 Quantity: Cut Size: Description:
A 4 22" Legs
B 4 3" Bottom shelf support
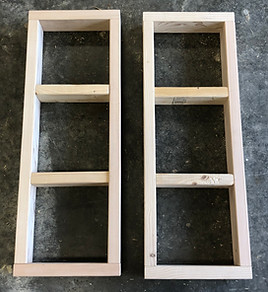
C 4 33" Long side of frame
D 4 13" Short side of frame
E 4 10" Support joists
F 2 39" Sides to pegboard
G 1 36" Top to pegboard
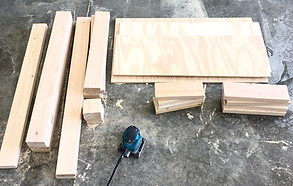
Step 3: Cut & label your plywood
Plywood Quantity: Cut Size: Description:
H 1 36x15.5" Top
I 1 36x13" Bottom Shelf
J 1 36x20" Pegboard
Step 4: Make your two frames
Using C and D, create two rectangles using 2.5" construction screws. Place and screw the joists (E) 12" apart inside the frames.
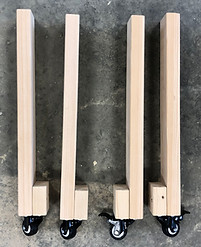
Step 5: Create legs & Attach
Screw B to the bottom of A and attach casters. Attach legs to both frames.
Step 6: Attach bench top and shelf
The bench top is 1/2" short on the long side, to accommodate the plywood backing for the peg board. Make sure you leave the 1/2" opening at the back of your bench. Once you attach the tops, attach the sides and top of the pegboard frame. The top of the frame I secured to the sides using pocket screws and glue.
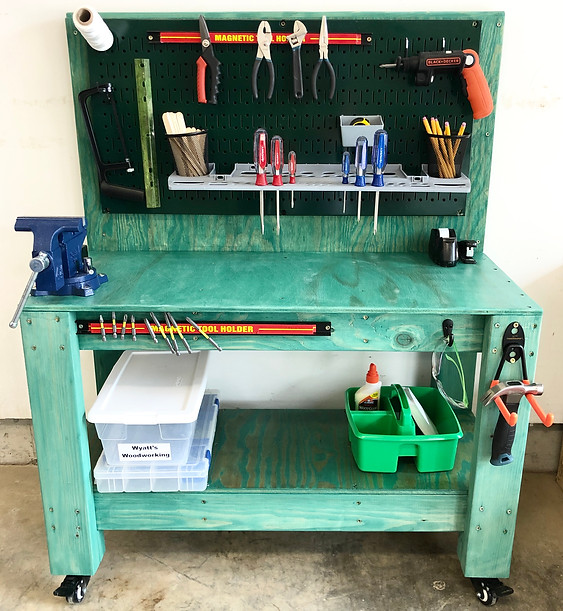
To see how I created the green stain look, click here
Garage Storage
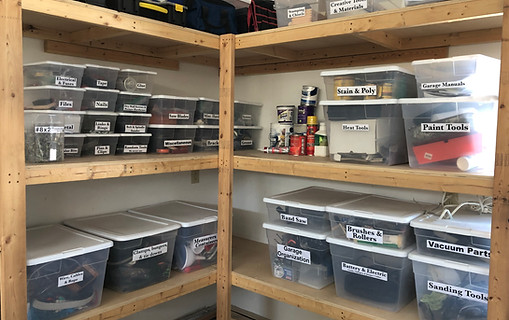
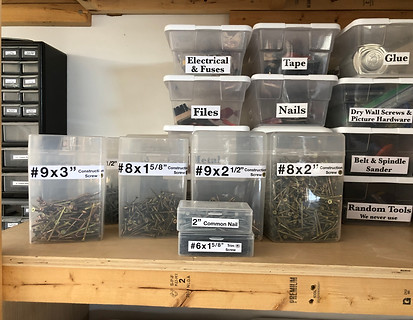
As you can see, I use the Target sterilite storage everywhere. The picture on the right also features sterilite, but the flip top containers I got at the Christmas Tree Shop in their cooking section, and they are AWESOME. The smaller containers I also got at Christmas Tree Shop, they are "cream cheese" holders.
Cutoff Bin

Every small shop needs a cut off bin. It's the only way you make money, and the only way you find your valuable materials. I love the design of this bin, which I found here.
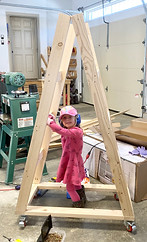
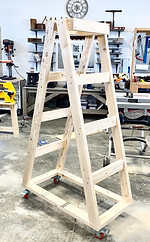
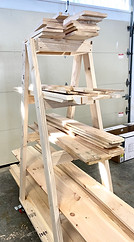
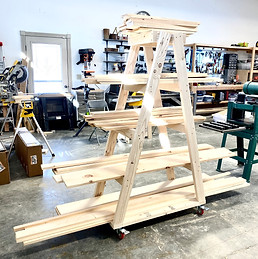
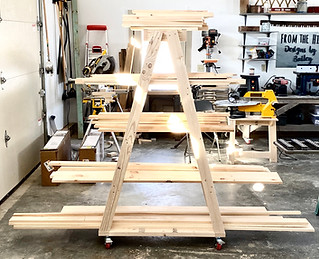
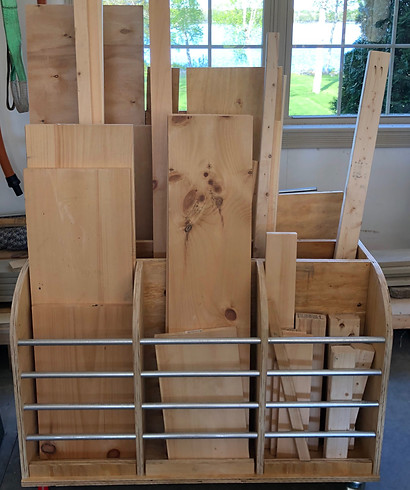
Portable Lumber Rack
This lumber rack is SO easy to make, and took about an hour to construct. Here is the free DIY PDF for the project. Thank you to Rogueengineer.com!