

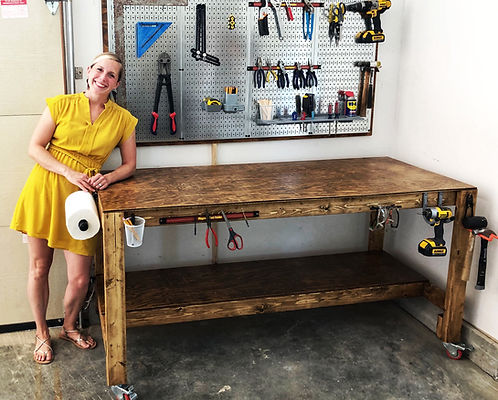
Workbench Tutorial
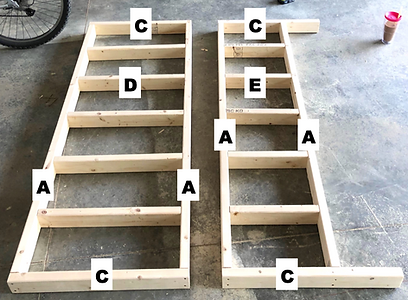
Bench Cut List:
2x4 Quantity Cut to size: Description
A 4 68 7/8” (Outer frame)
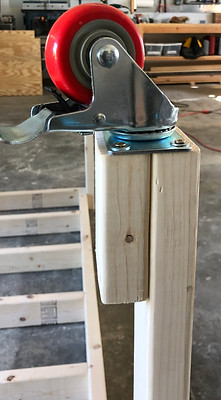
B 4 32” (Legs)
C 4 27” (Outer frame)
D 5 24” (Upper joists)
E 5 15” (Lower joists)
F 4 5” (Lower shelf brace)
Bench Shopping List:
-
(1) 4'x8' Sheet of 1/2" Plywood
-
(8) 2x4s
-
(4) 3" Heavy Duty Castors
-
2.5" Construction Screws
-
1 5/8" Construction Screws
Peg Board Shopping List:
-
(1) 4'x8' Sheet of 1/2" Plywood
-
(2) 2 packs of steel pegboard
-
1/2" Screws
Plywood Cut List
(have Home Depot make your cuts for free)
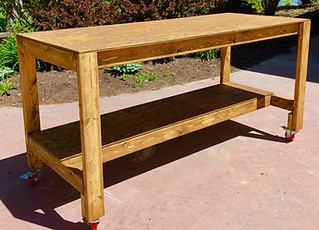
Bench:
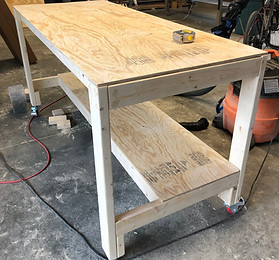
Lower shelf: 18” x 6’
Bench top: 30” x 6’
Peg Board Backing: 34” x 66”
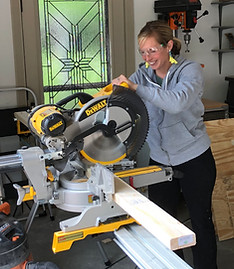
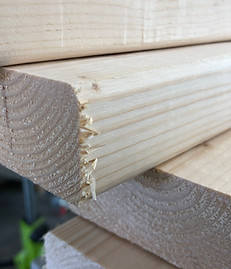
Step 1. Cut and label all pieces. If you have any pieces that are warped, clamp them together with all the good pieces and leave overnight to help straighten them. Quickly sand any fuzzy edges.

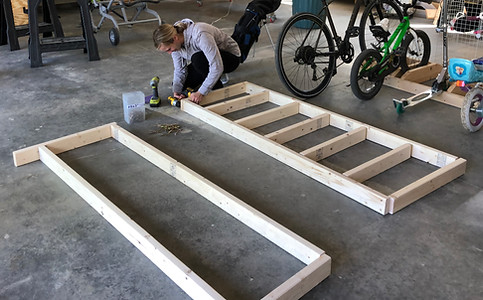
Step 2. Lay out A, C, D, & E. Place joists (D & E) at one foot intervals along A. Assemble with 2.5” construction screws.
Step 3. Attach Legs, lower shelf braces, and castors.

Step 4. Flip unit over (you need two people to do this). Attach lower shelf and bench top with 1 5/8” screws.

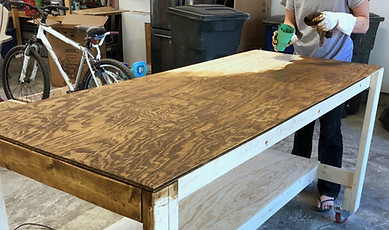
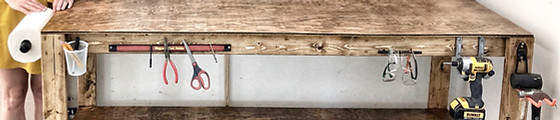
Step 5. If you want to make to make it fancy, sand it smooth, stain it, polyurethane the tops, and outfit it with accessories.
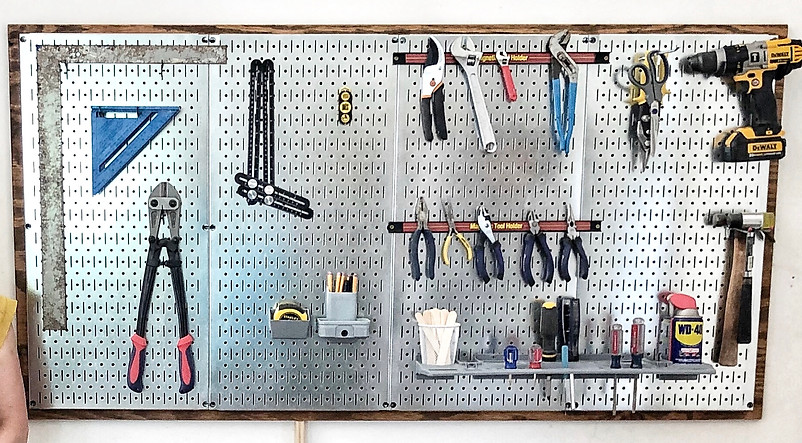
Pegboard Tutorial
This part is super simple. And really there is no tutorial. Just stain your 34” x 64” plywood the same color as your workbench (if you stained it). And make sure your 4 steel pegboards are centered. Accessorize it with magnetic strips, hooks, and all kinds of fun stuff.
Click here for my free PDF of these plans.
A HUGE thank you the Family Handy Man from whom I derived the original plans.